Sponsored Video SDK – Developer Guide
The GoWit Sponsored Video SDK enables marketplaces to display VAST video ads or rich video+product blocks anywhere on their site.
Follow these steps to configure and use the SDK with your marketplace’s VAST tags.
Gather Your Credentials
To configure the SDK, you’ll need:
- Marketplace UUID: Your unique marketplace identifier (find this in your GoWit dashboard).
- Hostname: The GoWit API endpoint or your custom domain (provided by your GoWit team during integration setup).
- VAST Tag URL: Generated in the GoWit dashboard for each video ad placement.
Add the SDK to Your Site
Quick Start
To use the SDK, add the following script and configuration to your site:
- Marketplace UUID: Your unique identifier, found in your GoWit dashboard.
- Hostname: The URL of your GoWit dashboard or API endpoint. Your GoWit team will provide your hostname during integration setup.
<script>
  window.__rma__conf = {
    base_url: "YOUR_HOSTNAME_HERE",
    id: "YOUR_MARKETPLACE_UUID",
    // optional: session_id, search_term, category_path, consent, customer_id
  };
</script>
<script defer src="https://sdk.gowit.com/gowit.js"></script>
If the GoWit SDK is already embedded on your page, you do not need to add the base script again—just configure
window.__rma__confas shown above.
Global Configuration (__rma__conf)
The SDK reads window.__rma__conf on load. At minimum, provide base_url and id.
Optional fields include:
session_idcustomer_idsearch_termcategory_pathconsent
If session_id is omitted, a new one is created automatically. All these fields are validated inside the SDK’s init function.
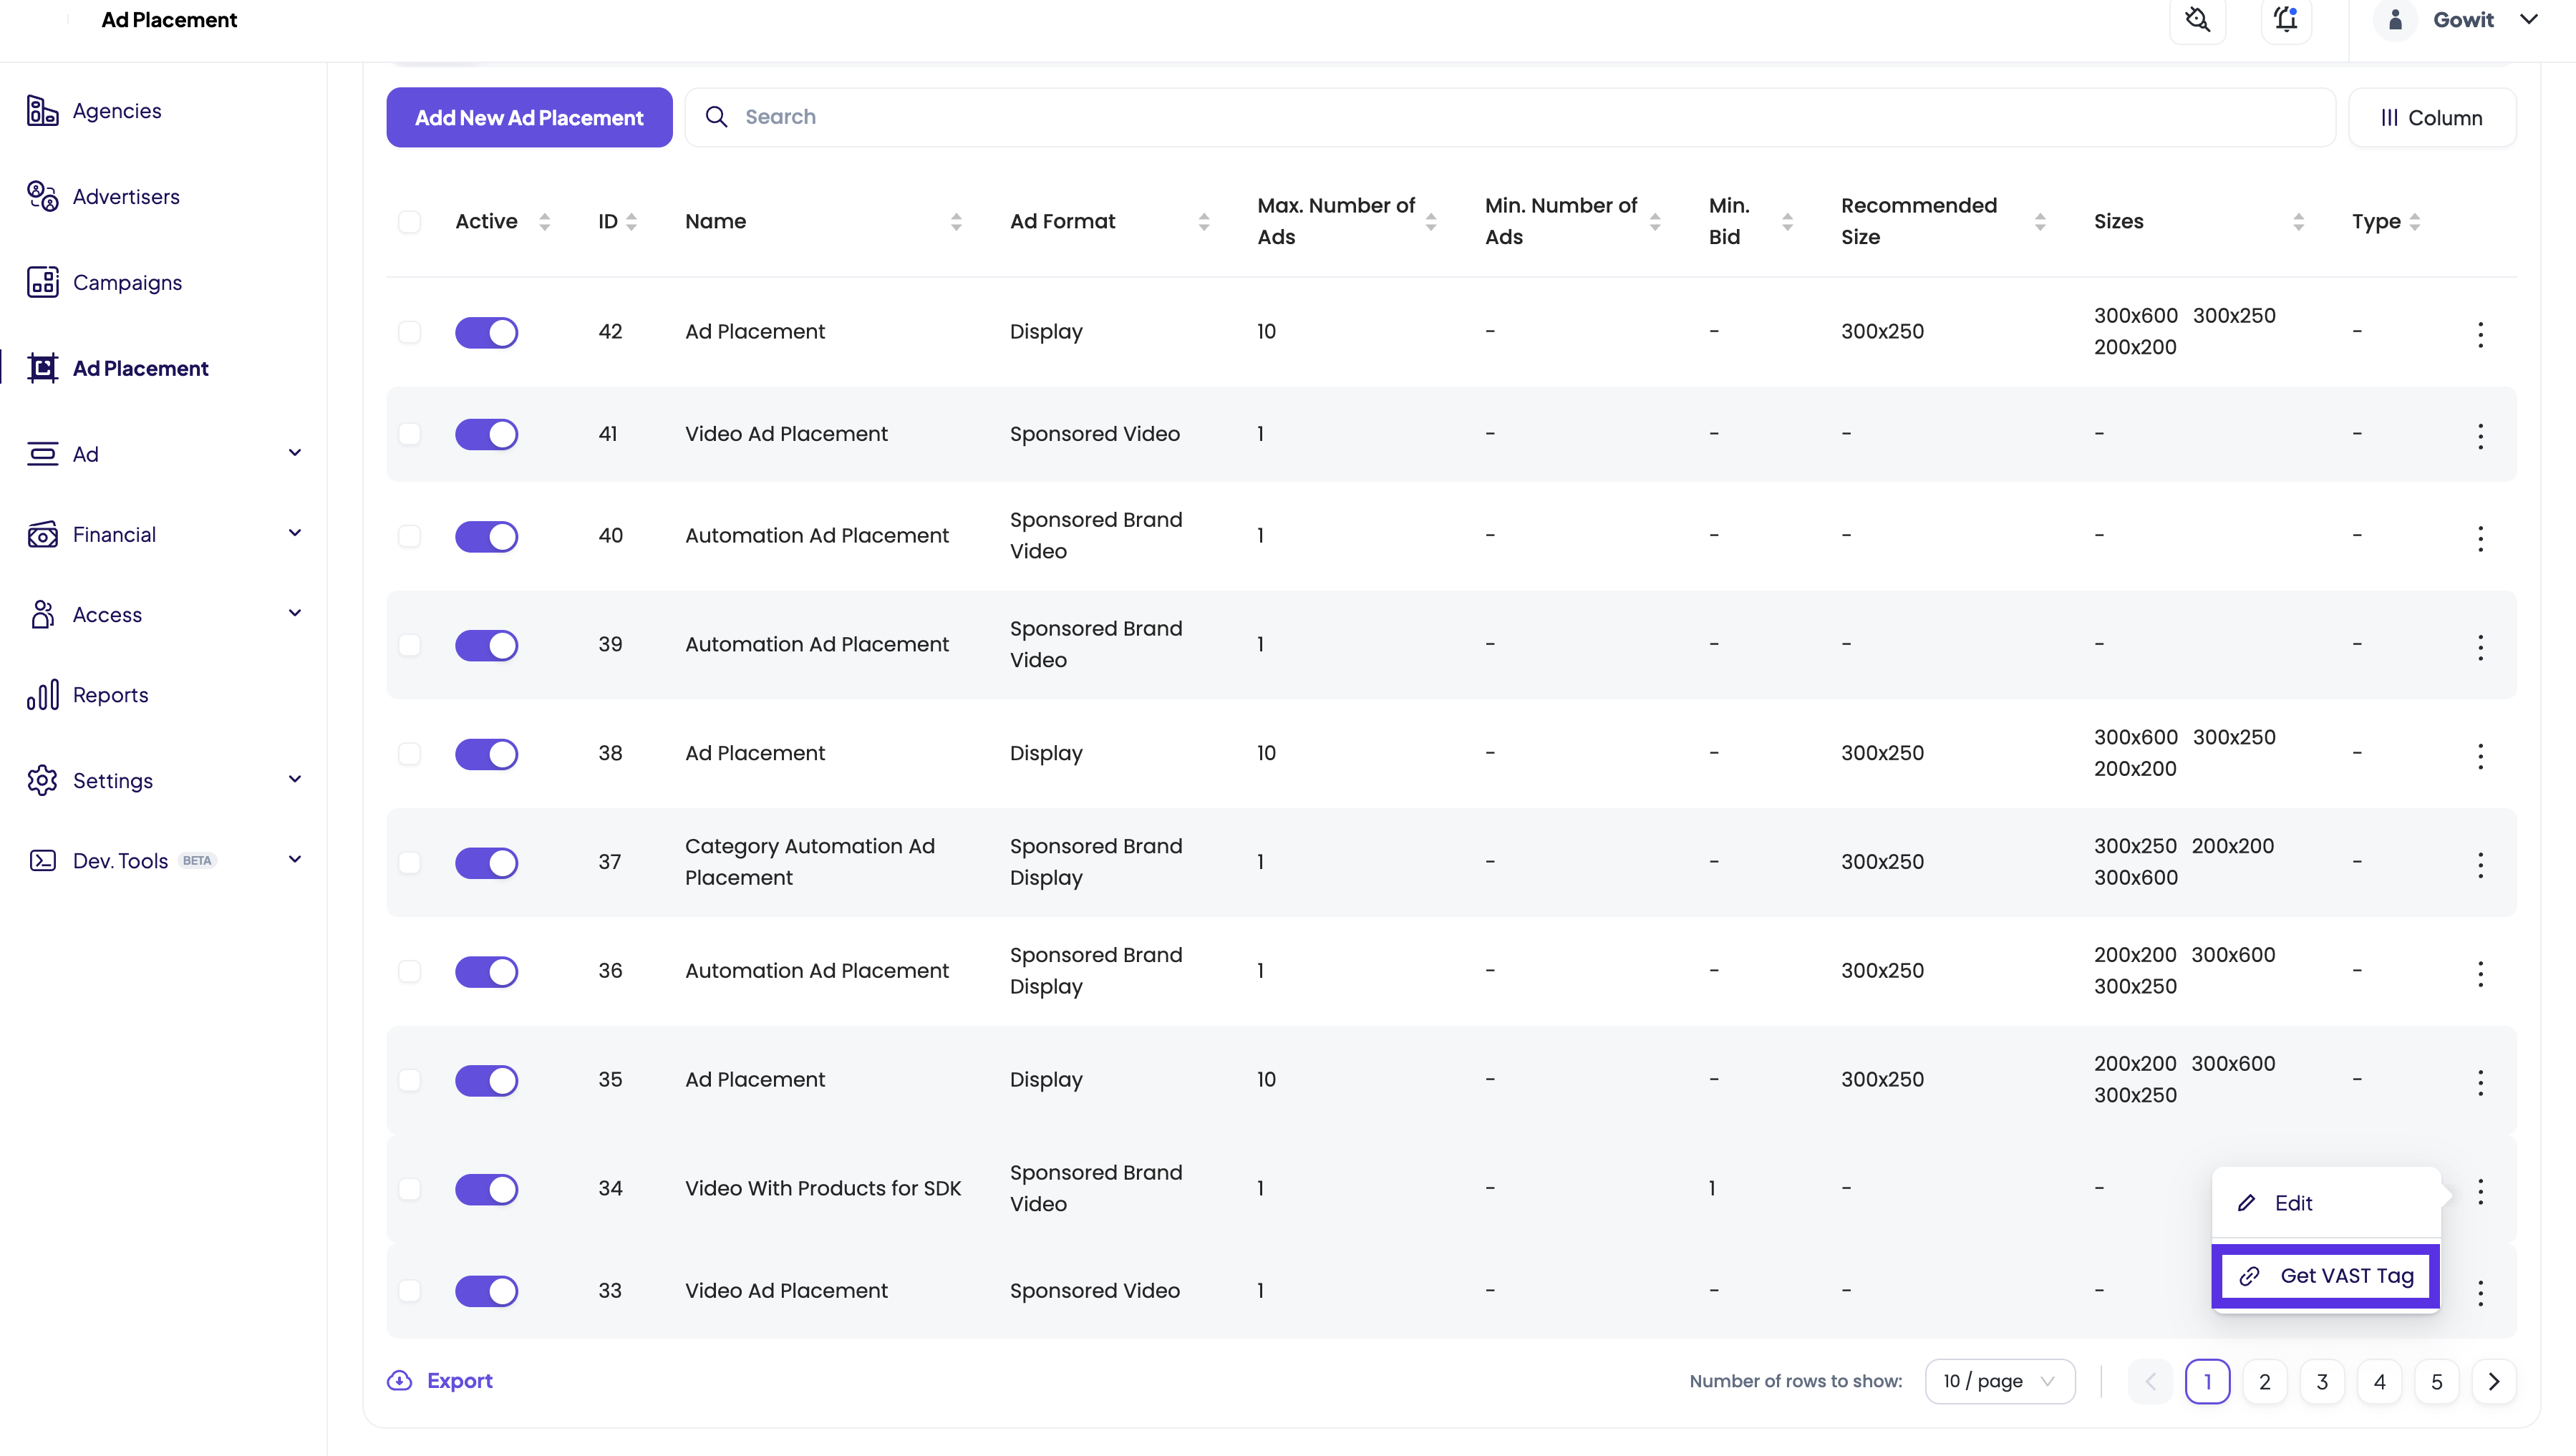
Fetch Your VAST Tag
- Log in to the GoWit Dashboard and go to Ad Placement.
- Create or use an placement and click Get VAST Tag from the context menu.
- Copy the VAST tag URL. It will look like:
https://${YOUR_HOSTNAME}$/server/video-ads?marketplace_id=...&payload=...
You’ll use this URL in your JavaScript to request the ad.
Use VAST Helper Functions
After the SDK loads, it injects VAST helpers into the global scope:
const { VASTClient, VASTTracker, parseDuration } = window;
Typical usage:
const client = new VASTClient();
const response = await client.get(vastUrl); // returns VASTResponse
const ad = response.ads[0];
const creative = ad.creatives.find((c) => c.mediaFiles?.length);
const tracker = new VASTTracker(client, ad, creative, null, true);
Use tracker to handle impressions, quartiles, clicks, and completion events.
Render Video or Product Block
Video-Only Mode
function renderVideo(container, mediaURL, tracker) {
  container.innerHTML = `
    <video playsinline muted controls style="max-width:100%">
      <source src="${mediaURL}" />
    </video>`;
  const vid = container.querySelector("video");

  tracker.trackImpression();
  vid.onended = () => tracker.complete();
  vid.ontimeupdate = () => tracker.setProgress(vid.currentTime, {}, true);
}
Video + Product Block
If your VAST includes ImageURL, Name, and Price, you can render a rich product block:
if (product.ImageURL && product.Name && product.Price) {
  // Build the rich HTML block (video + product card)
} else {
  renderVideo(container, mediaURL, tracker); // fallback to video-only
}
Choose Tags Dynamically
You can swap VAST tags based on URL parameters or page context:
const qs  = new URLSearchParams(location.search);
const tag = qs.has('search')               // is this a search page?
               ? SEARCH_VAST_TAG
               : CATEGORY_VAST_TAG);

client.get(tag + '&session_id=' + sessionId);
?vast=ENCODED_VAST_URL– force a tag?search=laptop– use the "Search" placement tag- Otherwise – use the "Category" placement tag
Container Options
You can render into an existing element or create one on the fly:
// Option 1: Use an existing element
const slot = document.querySelector("#video-slot");
renderVideo(slot, mediaURL, tracker);

// Option 2: Create a container dynamically
const auto = document.createElement("div");
auto.className = "gowit-vast-slot";
document.querySelector(".products").prepend(auto);
renderVideo(auto, mediaURL, tracker);
Troubleshooting
| Symptom | Likely Cause | Fix |
|---|---|---|
| Product info missing → skipping render | <Extension> lacks fields | Add ImageURL, Name, Price or use video-only mode |
| No network request | SDK not loaded | Check <script defer src="…gowit.js"> and CSP |
| 404 on VAST | Wrong tag URL | Copy fresh tag from Dashboard |
| CORS error | Origin not on allow-list | Contact support with your origin |
Enable verbose logs: add #gowit_sdk_debug to the URL.
FAQ
Q: How do I track clicks on my custom CTA button?
A: Use tracker.click() in your click handler to notify the SDK of a click event. For example:
document.querySelector(".gowit_cta").addEventListener("click", () => {
  tracker.click();
});
If you want to handle the clickthrough URL, you can listen for the clickthrough event:
tracker.on("clickthrough", (url) => {
  document.location.href = url;
});
Q: How do I ensure completion is tracked if the video 'ended' event isn't triggered?
A: Sometimes the ended event may not fire (e.g., due to rounding errors or browser quirks). In your timeupdate event handler, check if currentTime is very close to duration and call tracker.complete() manually:
videoPlayer.addEventListener("timeupdate", (event) => {
  const currentTime = event.target.currentTime;
  const duration = event.target.duration;
  if (currentTime >= duration - 0.1) {
    tracker.complete();
  }
});
Q: Can I display the video without the product card?
A: Yes. Render the <video> directly or let the fallback trigger if product fields are missing.
Q: How do I enable autoplay?
A: The demo uses muted playsinline for autoplay on mobile. Remove these attributes to require user interaction.
Need Help?
If you have any questions, encounter issues, or need further assistance, please reach out:
- Email: support@gowit.com