Advertiser Balance & Coupon Setup
In order for campaigns to serve impressions, advertisers must have available balance.
Most platforms are initialized with a default welcome credit during onboarding.
However, if this is not the case—or if you need to continue testing—you can manually add balance or define coupons for advertisers.
How to Check Advertiser Balance
There are several ways to view the current balance and coupon information of an advertiser:
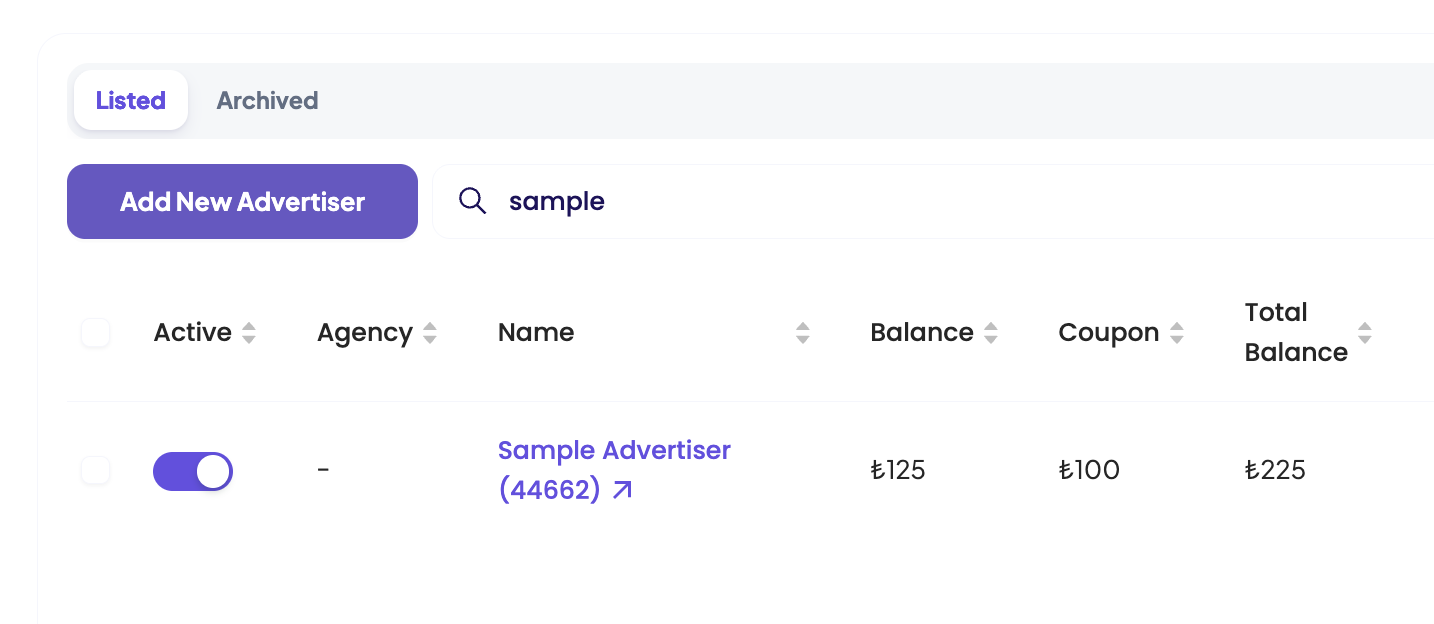
- Advertisers Table
- Go to Advertisers → Table.
- Locate the advertiser in the list.
- Check the columns:
Balance,Coupon, andTotal Balance.
- Advertiser View (Top Navbar)
- Click on the advertiser’s name to switch into their view.
- Check the top navbar for current balance and coupon amounts.
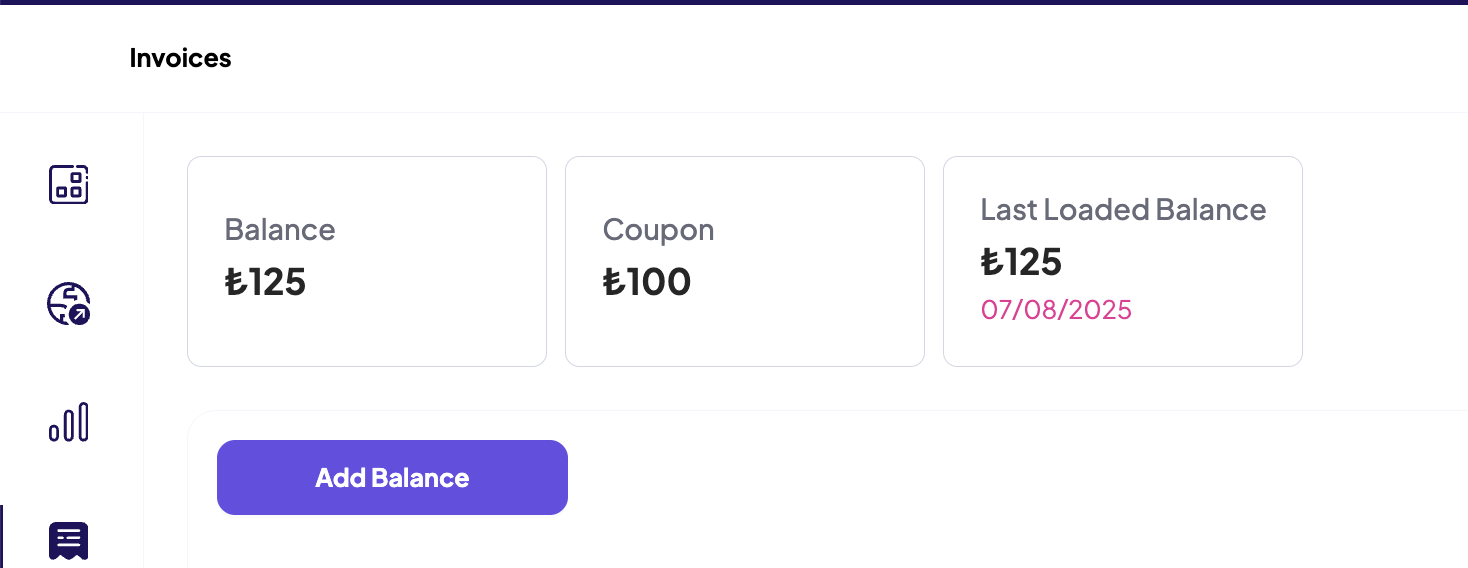
- Advertiser Invoices Screen
- Click on the advertiser’s name to switch into their view.
- Open the Invoices tab.
- Review the balance and coupon data there.

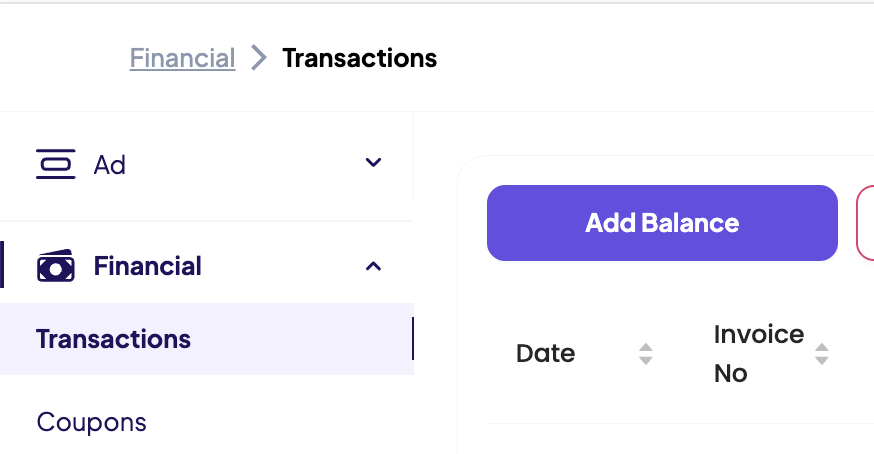
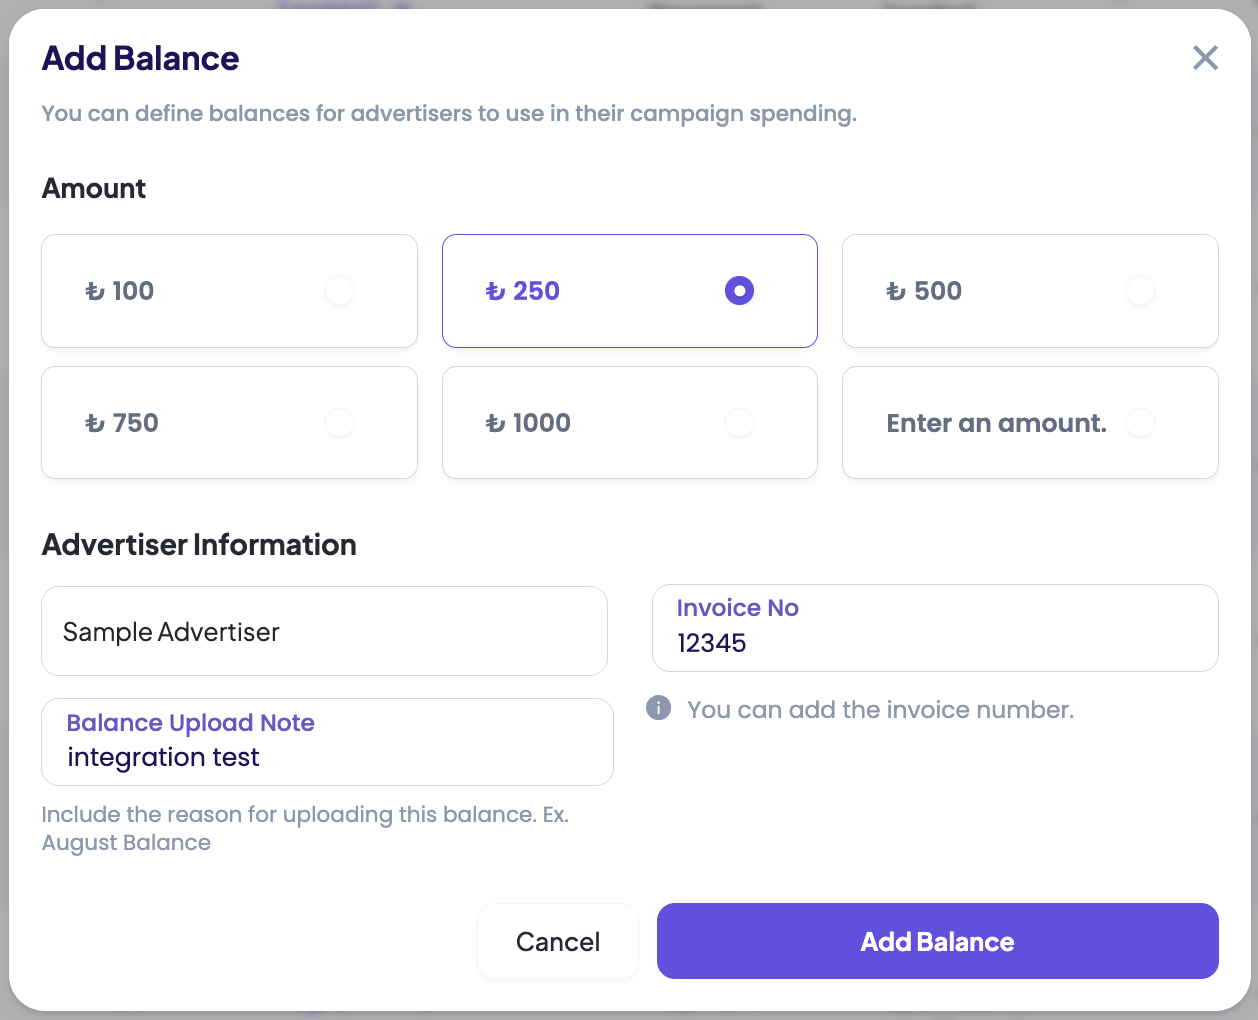
Adding Balance
For testing purposes, the recommended and fastest method is using the Admin Panel.
- Navigate to Financial → Transactions.
- Click Add Balance.
- Enter the amount you want to add.
- Select the relevant advertiser.
- (Optional) Fill in
Invoice NoandNote— these are mostly used in production environments. - Verify the information and confirm the transaction.
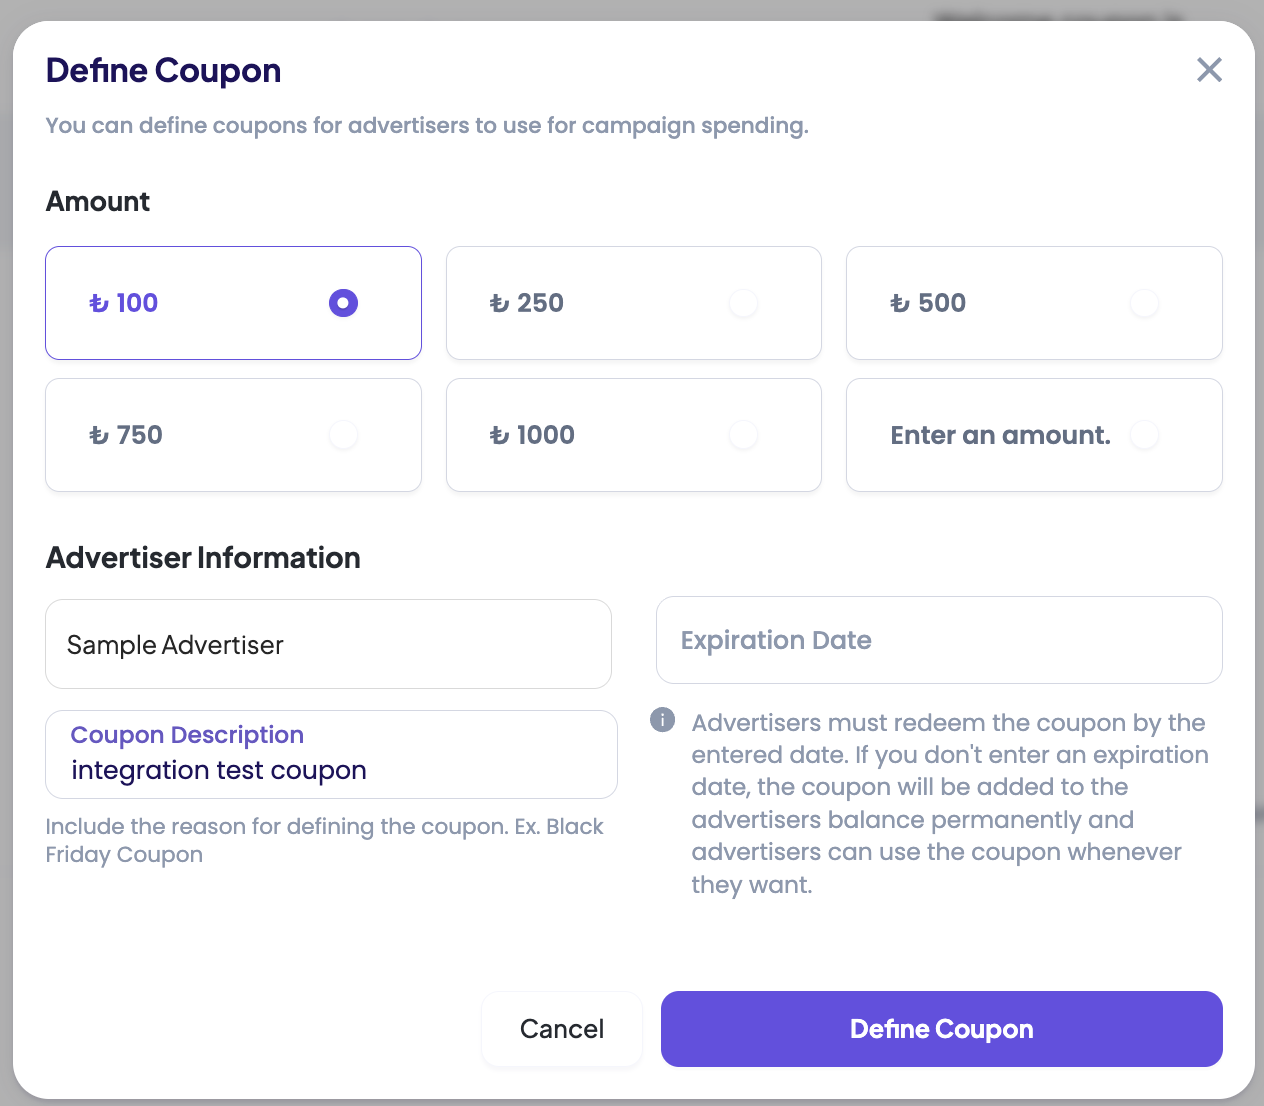
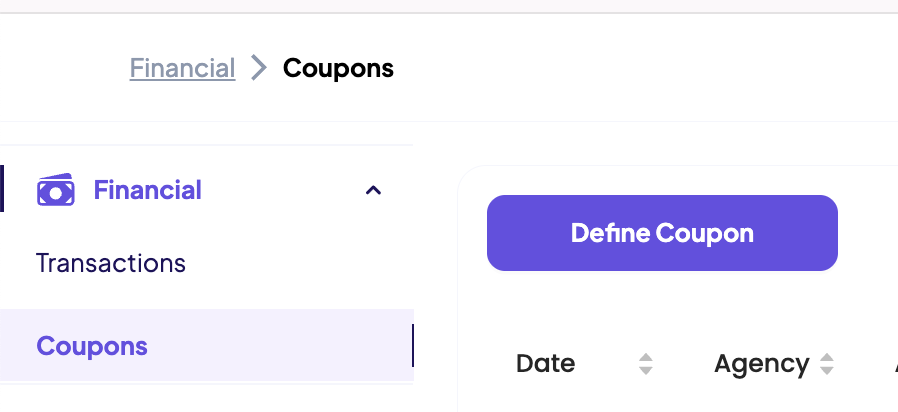
Defining a Coupon
Alternatively, you can assign coupons to advertisers.
- Navigate to Financial → Coupons.
- Click Define Coupon.
- Enter the coupon amount.
- Select the relevant advertiser.
- (Optional) Add
Expire DateandNote.- If an expire date is set, the coupon will only remain active until that date.
- If unused, it will expire automatically.
- For testing, it is recommended to leave
Expire Dateempty.
- Verify the information and confirm.